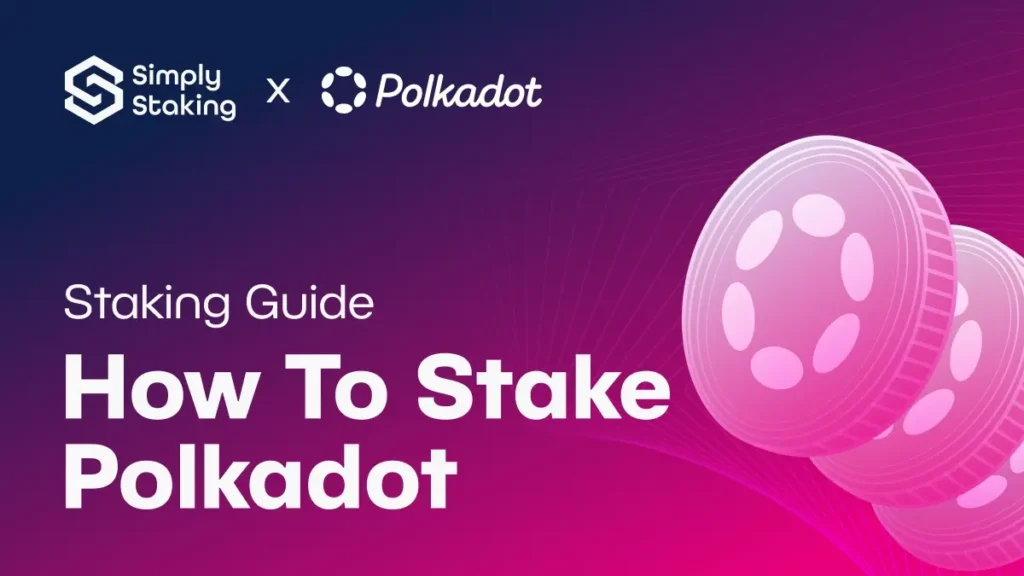
How To Stake On Polkadot
This guide was updated on 11/27/2024.
Polkadot is a distributed blockchain network that through its core Relay Chain provides shared security and interoperability for other sovereign, interconnected and application-specific chains, known as parachains. The Relay Chain utilises a Nominated Proof-of-Stake (NPoS) consensus mechanism which, as with all PoS chains, is secured by staking Polkadot’s native token, DOT, with one of the network’s validator(s).
In this article, we’ll take you through the simple steps to stake DOT natively via the Polkadot staking dashboard. However, if you’re new to the Polkadot network you’re encouraged to check out our previous articles—”An Introduction to Polkadot”, “Introduction to Polkadot’s OpenGov”, “Outlining the Vision for Polkadot 2.0“, and “Polkadot 2.0: Transitioning to Coretime as a Service“, in that order—to learn about the basics and get an overview of the blockchain.
Why Should You Stake Your DOT?
Staking your DOT tokens serves the dual purpose of supporting the Polkadot network and providing you with an opportunity to earn rewards. By choosing to stake DOT, you contribute to the network’s robustness, its ongoing development, and its overall security.
Additionally, staking allows you to potentially generate a passive income stream. As you stake your DOT, you become eligible to receive rewards, which can accumulate over time, reflecting the growth and success of the Polkadot ecosystem.
Beyond financial incentives, staking also empowers you with a voice in the network’s governance, as stakers have the ability to participate in OpenGov and influence the direction and policies of the Polkadot network.
Having greater numbers of participants (as well as distributed nodes) can contribute to a more decentralised and robust network, lowering the risk of successful attacks on the chain. On this note, Polkadot stands out as one of the best in the industry, with a so-called Nakamoto coefficient of 88 (which measures the number of node operators that together control over a third of a blockchain’s staked assets and thus hold the power to essentially turn off the chain (Nakaflow.io, 2024).
Thus in essence, by staking DOT, you’re not just investing in the token itself, but also in the future of the Polkadot ecosystem, all while having the potential to earn staking rewards as the network thrives.
Different ways to staking DOT
When staking DOT on Polkadot, users have the choice of native staking through the Polkadot Staking Dashboard or utilising third-party protocols, either decentralised or centralised. Each option has its own advantages and trade-offs.
Though this guide focuses on how to stake DOT natively, we still want to provide readers with a basic understanding of the different options. Below, we summarise the main points to consider for both native and third-party staking before making a decision:
Native Staking on Polkadot
- Minimum requirement to participate is only 1 DOT.
- The system is trustless and decentralised, meaning no intermediaries.
- You retain full control of your assets.
- You can take part in the governance of the network, retaining your voting rights, especially when you nominate validators directly.
- When nominating validators directly, your DOT might be at risk if those validators act against the network’s rules.
Third-Party Protocols
- You can stake any amount of DOT, although fees apply.
- Unbonding terms are usually more flexible than native staking.
- You have the potential to gain liquidity through third-party tokens.
- Some degree of trust in the third-party protocol is required since you may not have full custody of your funds.
- The staking benefits and associated risks can vary from one protocol to another.
Buy DOT Token
To stake DOT you’ll first need to purchase tokens. A straightforward way to do this is through our Binance partnership link, where you can receive a $600 USD welcome offer towards trading fees (terms & conditions apply). Navigate to the “Markets” section, and search for DOT. Once you’ve located the DOT pair, proceed to purchase your desired amount.
After buying DOT, transfer it off the exchange by following these steps:
- Navigate to the “Wallet” section in Binance
- Select “Withdraw” and choose DOT as the token
- Enter your Polkadot wallet address
- Set the withdrawal amount and confirm the transaction
Now that your OSMO tokens are safely transferred, you’re ready to start staking.
How to stake DOT via the Polkadot Staking Dashboard
Now, focusing on native staking, there are four primary methods of staking DOT:
- Joining a Nomination Pool: For those who either do not wish to actively manage their nominations or who have less than the minimum amount required for individual nominations. You can join a nomination pool with as little as 1 DOT, with rewards and penalties divided among participants according to their stake. It’s important to note that these rewards are not distributed automatically but need to be claimed manually by the staker.
- Opening a Nomination Pool: If you are keen to take a more active role in governance, it is also possible to start your own nomination pool and invite others to join you in staking their DOT.
- Nominating Directly: For those who prefer to be actively involved in the staking process and have the necessary minimum of 250 DOT, direct nomination allows for greater engagement in validator selection.
- Running a Validator Node: As the most technical role in Polkadot’s staking system, validators are responsible for producing blocks and maintaining the network. Setting up a validator requires significant technical knowledge, commitment, and a willingness to risk DOT for the chance of higher rewards.
In the remainder of the article, we take you through the steps of how to (a) join a nomination pool; and (b) nominate directly.
Step One: Head over to https://staking.polkadot.cloud/#/overview
Step two: Connect your wallet

Step Three: Familiarise yourself with the Dashboard and Staking menu
The Polkadot Staking Dashboard is where you’ll manage your staking activities, see your balance details and recent payouts, among other things.
On the left side of the screen is the navigation bar, which lists different staking options such as “Pools,” “Nominate,” and “Payouts” as shown in the screenshot below.

In the top right corner, you’ll see your account name. Next to it is an “Accounts” button, which lets you switch between multiple accounts or change account settings.
In the center of the dashboard, the “Overview” section provides:
- Your wallet address.
- The average staking reward rate as a percentage.
- The total percentage of DOT supply that’s staked and the time left in the current staking era.
Below the overview, Nominator Status section tells you if you are currently nominating validators.
The balance section is located in the bottom left. It shows your DOT balances divided into two categories: “Not Staking” and “Free.” There’s also a feature to reserve some of your balance.
On the bottom right, you’ll find a graph that tracks your staking payouts over time.
Explore each section to understand where things are and how they work, and we’ll show you how to stake in the next section when you’re ready!
Step Four: Join a Nomination Pool or Nominate Validators
How you get to stake your DOT natively depends on the size of the bag you’re holding. If you have 250 DOT or more, you can nominate validators to stake with yourself. If you want to stake less than 250 DOT, you can either set up your own or join a Nomination Pool. Below, we show you how to do both.
Joining a Nomination Pool (min. 1 DOT)
- Navigate to “Pools” in the left-hand side menu
- Select a specific Pool or let Polkadot select for you
If you are not so bothered about which pool to stake with, you can simply press “Join Pool” and the dashboard will suggest one for you. If you’re not happy with the suggested pool, you can press “Choose Another Pool” in the top-right corner of the page and the dashboard will suggest another one


If you want to select a specific pool, you can press “All Pools” in the submenu as shown in the screenshot below and select from there.


Nominate Validators (min. 250 DOT)
- Navigate to “Nominate” in the left-hand side menu
Assuming you have 250 DOT or more to stake, you can nominate your own validators by heading to the “Nominate” page which you can find in the side menu on the left.

Press “Start Nominating”

Choose your payout destination
The first step before nominating validators is to decide whether you would like your staking rewards to either be automatically added ontop of your staking balance for compounding or have the rewards paid out to one of your accounts.

Nominate validators
Once you’ve picked your payout method, you are free to select the validators you would like to nominate to. You can also let the dashboard choose validators for you based on performance, activity, or randomness, as indicated in the screenshot below.

Bond any amount above 250 DOT
Once you have selected the validator(s) you want to nominate, you simply state how many DOT you would like to bond, and that’s it!
The dashboard will give you a summary of the staking transaction before it is executed, so you have a chance to review it then to ensure everything is correct.
Enjoy your staking rewards!
Only thing left now is to enjoy the staking rewards that will be accumulating. As of November 2024, the average reward rate is around 13% before commission.
Moving Funds to a Ledger Wallet
If you ever wish to unstake your DOT and store it securely, you can easily transfer your assets to a Ledger Wallet. Simply follow the unstaking process and move your tokens to Ledger for safe offline storage!
(Terms and Conditions apply)
About Simply Staking
We are a Blockchain Services Provider who operates Validators and Nodes on over 30 Networks with over $1 Billion in Assets Staked. Our journey started in 2018, with Simply entering the Cosmos Hub Testnets, and now have expanded our operations to most major ecosystems including networks such as LIDO, Polygon, EigenLayer, Oasis Network, Cosmos Hub, Polkadot, and many more, all while being an Oracle Operator on Chainlink.
We offer additional services such as Nodes-As-A-Service (RPCs), Blockchain Development work, Tooling, Governance Services as well as Blockchain Consultancy Services.
More Information on our offerings can be found on our website.
Disclaimer: This article contains affiliate links. If you click on these links and make a purchase, we may receive a small commission at no additional cost to you. These commissions help support our work and allow us to continue providing valuable content. Thank you for your support!
Terms & Conditions apply on all partnership offers.
This article is provided for informational purposes only and is not intended as investment advice. Investing in cryptocurrencies carries significant risks and is highly speculative. The opinions and analyses presented do not reflect the official stance of any company or entity. We strongly advise consulting with a qualified financial professional before making any investment decisions. The author and publisher assume no liability for any actions taken based on the content of this article. Always conduct your own due diligence before investing.